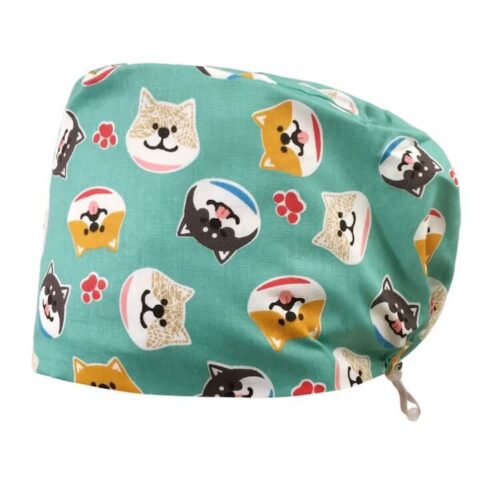
Custom caps manufacturing process and standard
Sommario
With the changes of the times, caps have been used to hide hair and face. These traditions have long been broken, but have gradually become an indispensable darling on the fashion stage.
According to a survey by an authoritative magazine, in Europe, America, Japan and South Korea, the average number of hats per capita is 7, while that in China is less than 0.7. This gap is huge. Hats play a vital role in matching, and now many stars will use a hat to decorate their style whether they go out or participate in social events.
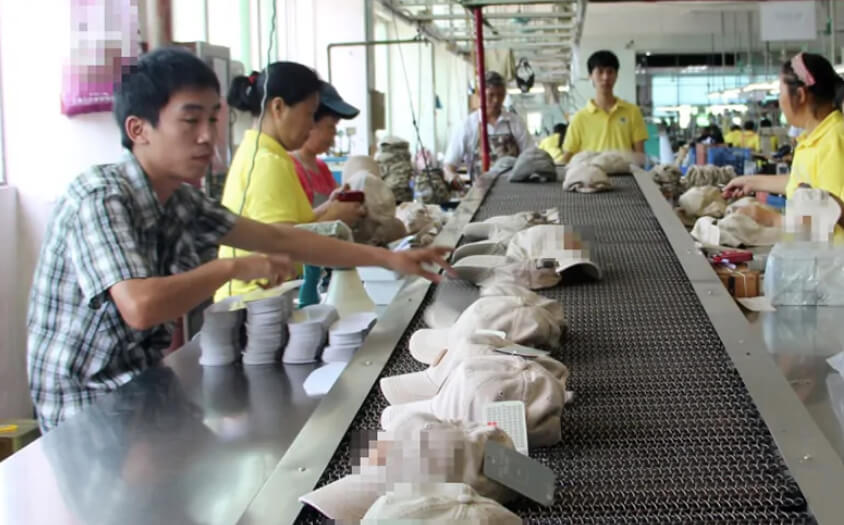
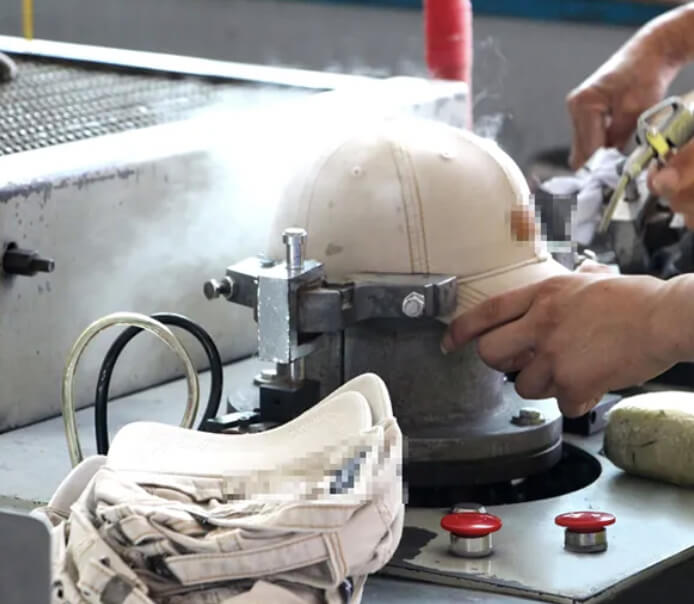
Hats seem to be simple, but the production process is extremely complex. Do you know how to make a customized hat? Let’s take a look at its production process:
Custom cap manufacturing process
1. Cutting workshop
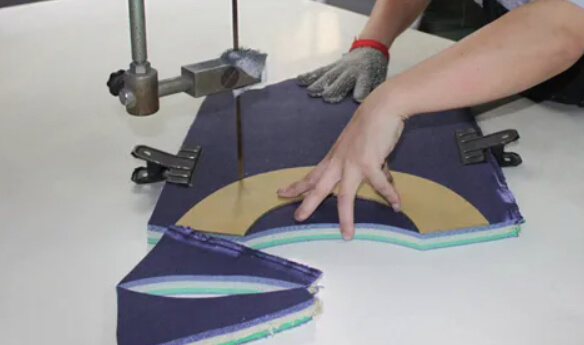
(1) Cutting: According to the requirements of the order, the cutting staff selects the fabric, color card, die, arranges the fabric broaching machine, estimates the number of cuttings of the batch of fabric, and uses the press to cut into pieces.
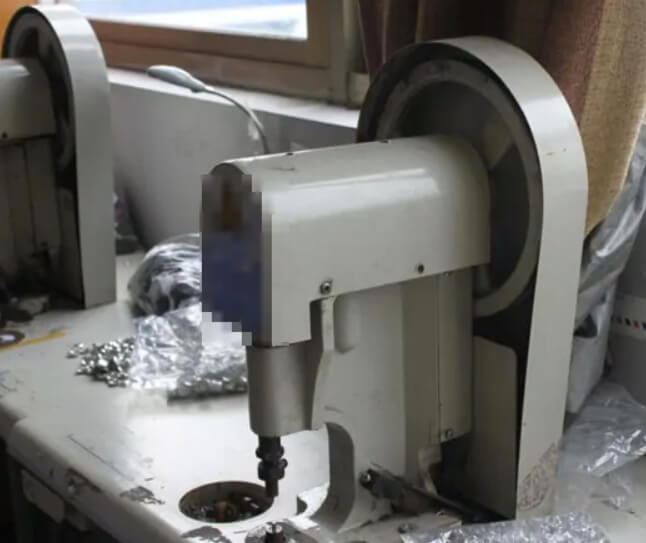
(2) Hole piercing: according to the customer’s order requirements, choose different models to use the hole-piercing machine to pierce the holes.
(3) Top buckle fabric: according to the required size of the button, select the leftover material and use a top binding machine to tie the top buckle cloth.
(4) Iron lining: according to the needs of the order, choose hard lining or soft lining, and use a lining machine to fit the cap and lining together.
(5) Tape: According to the size of various buttons and the width of the tape, select the leftover material to cut the cloth with a cloth cutting machine.
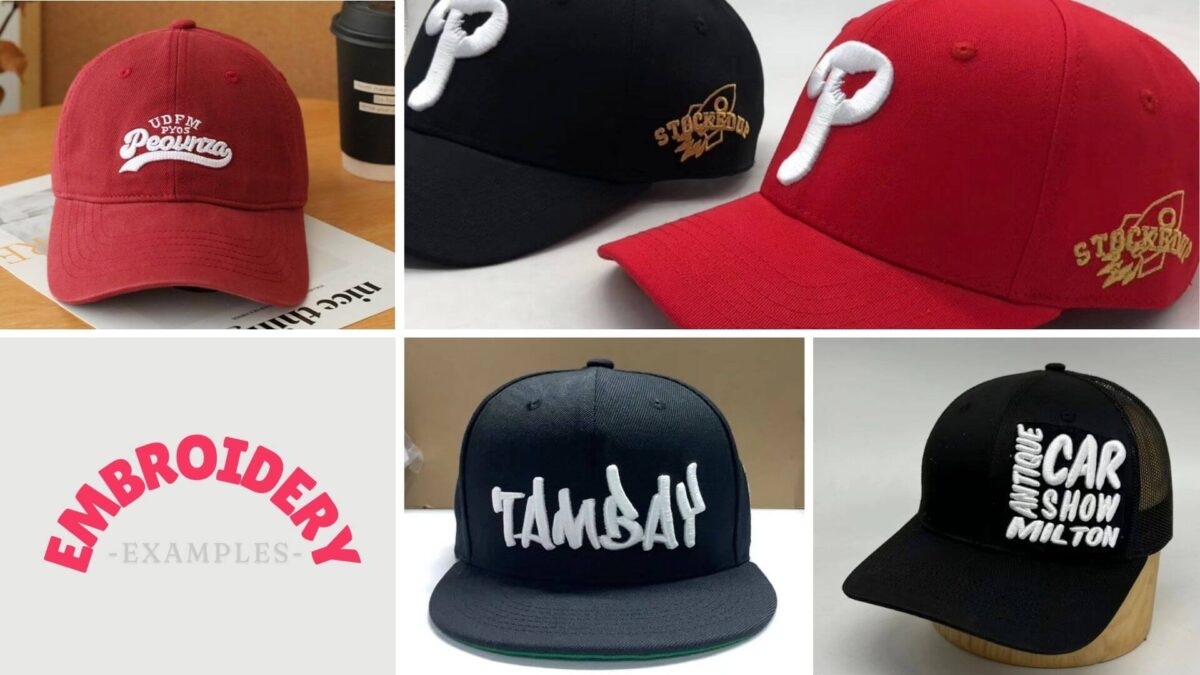
2. Embroidery workshop
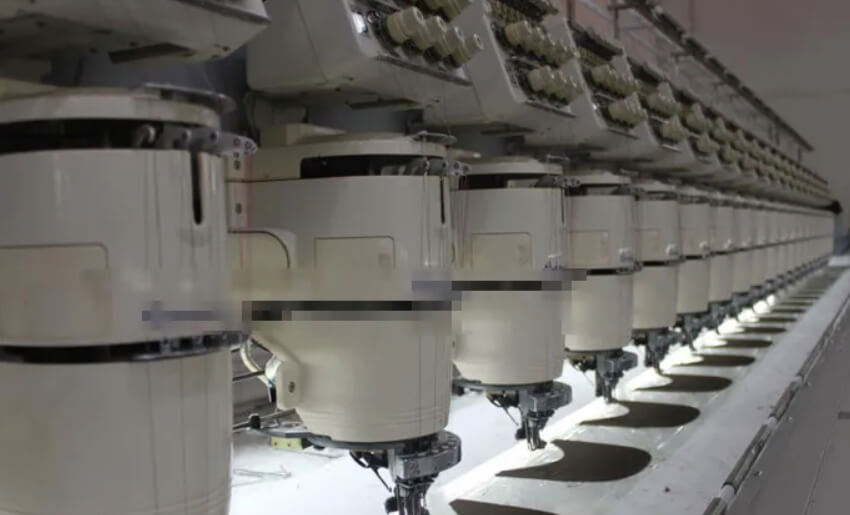
According to the needs of customers, we can customize different embroidery styles according to the LOGO provided by customers.
3. Embroidered eyelets
Do not embroider the wrong thread color, align the drilling holes, and pick out any broken edges or stains, which cannot be discarded, and need to be patched in time in the cutting workshop.
4. Top joint
Align the seam, the seam is even, the back stitch is parallel and should be back to the end, and the three lines at the intersection of the top of the hat are aligned. Needle distance requirements: 3 cm 10 needles.
5. Twin needle stitching
The front piece, the back piece, the back middle and the rear half of the whole roof must be boned, and the left and right should be kept evenly, and there must be no cracking and explosion; the front half of the front middle and the whole roof should be one-sided (or according to customer requirements); The cover seam color must be the same. Needle distance requirements: 3 cm 9 needles.
6. Back strap stitching
The inner crease position is 0.6CM; the length of the bottom edge after the car is the same; the radian of the tail strip is symmetrical and not deformed; the distance between the first line and the edge is 0.2CM; the color of the edge wrapping strip and the cover seam strip are the same.
7. Buckle
The back needle comes out, 2 mm from the edge, the folded edge should not be exposed, the adhesive tape should be placed in place, and the length of the adhesive tape on both sides after the button is fastened must be the same.
8. Adhesive tape
The adhesive tape and the cloth must be flat, the length is the same, the folded angle is 90 degrees, the burrs cannot be exposed, the thread ends must be cut cleanly, and the width of the adhesive tape must be the same.
9. Sweatbands
Do not skip stitches, float threads, or break edges. After the thread is broken, a heavy truck is required. Needle distance requirements: 3 cm 8 needles
10. Bill joint
The back hand must be reversed, and the lining must be pulled and lined up. It is the same length as the upper cloth, and the seam position is the same. The lining cannot be turned inside out. Use white plastic for light-colored fabrics and black plastic for dark-colored fabrics. Needle distance requirements: 3 cm 10 needles
11. Bill wrapping
The center of the tongue should be centered when it is inserted, the sides of the brow corner should be basically symmetrical, it should be pulled closer, and the mouth should not be reversed.
12. Stitching
The distance between the lines should be made according to the requirements of the craft sheet and the sample cap. The lines cannot be connected, floating lines, jumping pins, ecc.
13. Trim
The length of the seam is about 0.8. After trimming, the edge of the fabric is smooth and there is no need for edge.
14. Bill
It is necessary to keep the seam uniform and in place, the knife position of the visor and the seam of the front piece should be aligned, the baseball cap does not have the upper corner of the tongue, and the upper corner of the cap should be bent 2-3 stitches.
15. Fascia
The sweatband should be stretched along the stick line (covering the stick line), and the tightness should be the same on both sides, and the visor should be a little tighter, so that it does not sag or go up the tongue core. 2-3 stitches on the corner of the tongue on the curved tongue cap, but not on the corner of the baseball cap. The sweatband is neatly stopped, the seam allowance is 0.2CM, and the length of the two ends is 1.5-2.0CM.
16. Brand labeling
The logo stitching neatly placed, the position is according to the order requirements, the font cannot be pressed, the seam position is 0.1CM, and the start and end back stitches are 1.0CM.
17. Crimping
The distance from the edge must be even and uniform, the front pressure line is not allowed to connect, the two ends are reversed by 1.0CM and left and right symmetrical, the sweatband must not be exposed, not collapsed, and no grooves are exposed.
18. Pull the skewer
The size of the hat should be controlled by the length of the stick. It must be evenly eaten around. Use sticks of different lengths according to different positions. Both sides should be pulled in place. Both sides of the top and bottom of the hat should be symmetrical.
Custom cap manufacturing quality standard
1. All processes must be strictly in accordance with the specified thread color. Similar thread colors cannot be used instead. If you need to use other color threads instead, you must obtain the approval of the quality control department.
2. The previous process in the assembly line must ensure the normal operation of the next process, and rework may be required for obvious quality problems in the previous process
3. Each relevant process must pay attention to the color difference of the fabric, and if there is a color difference, it will be reflected in time, and it will be done after selection.
4. If defective materials are found in the inspection, they must be selected. If you have any questions, please consult the workshop director and the staff of the quality control department.

